Build Multilingual WordPress Sites with the Polylang Plugin


One of our customers recently asked us how to set up a multilingual WordPress site to manually translate it. The Polylang plugin does just that.
In this tutorial, you will learn how to use the Polylang plugin to create a multilingual WordPress site from scratch.
The process is very logical. You create content you wish to translate. You then install the Polylang plugin and use it to add required languages to your site. Next, you assign your content to the source language and translate it to the target language.
You finish the process by creating menus for both the source and the target languages, adding to each menu a language switcher. Let’s get started.
Step #1. Create Dummy Content
For the purpose of this tutorial, I install a fresh WordPress site. I will translate it from English to Russian.
- Create three dummy categories:
- Category 1
- Category 2
- Category 3
- Create three dummy posts inside the Category 1:
- Post 1
- Post 2
- Post 3
- Create three dummy pages:
- Page 1
- Page 2
- Page 3
Step #2. Add Required Languages
- Install and activate the Polylang plugin:
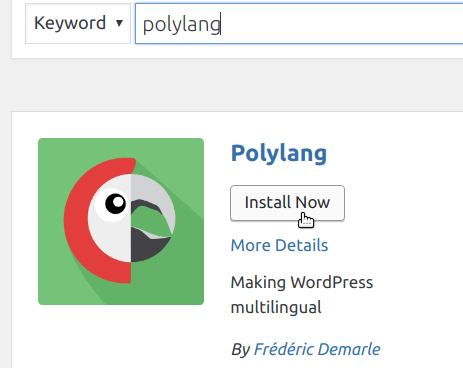
- Click the new tab Languages:

- You will be taken to the Languages screen. Click on the Choose a language field.
- Select English – en_GB.
- Scroll down and click on the Add new language button.
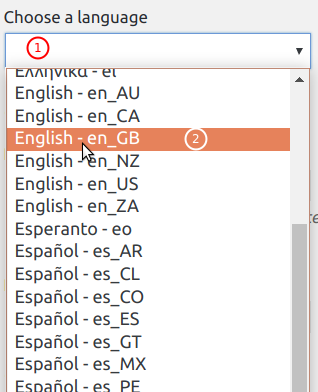
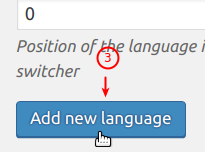
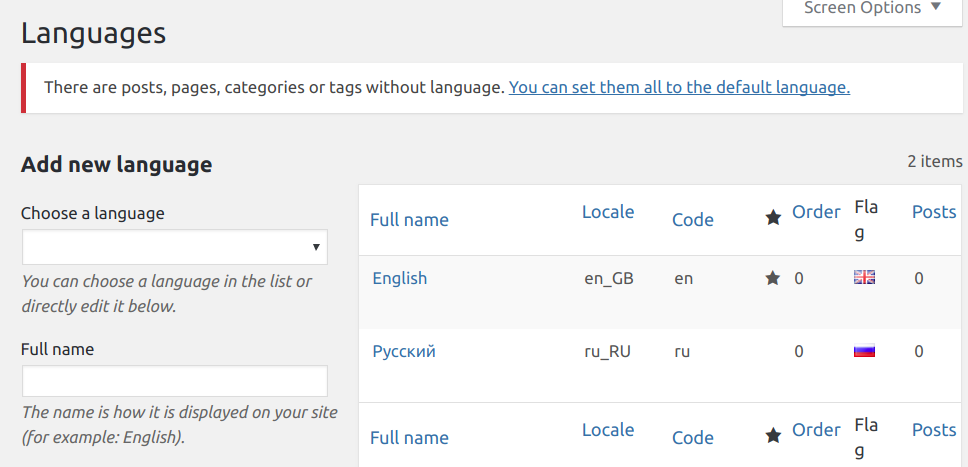
- Repeat this step and install another required language. For the purpose of this tutorial, I’ll install Russian.
Now your Languages page should list both languages you just installed.
Step #3. Assign Content to the Source Language
You are almost ready to start translating your dummy content. You just need to make one step to prepare it for translation.
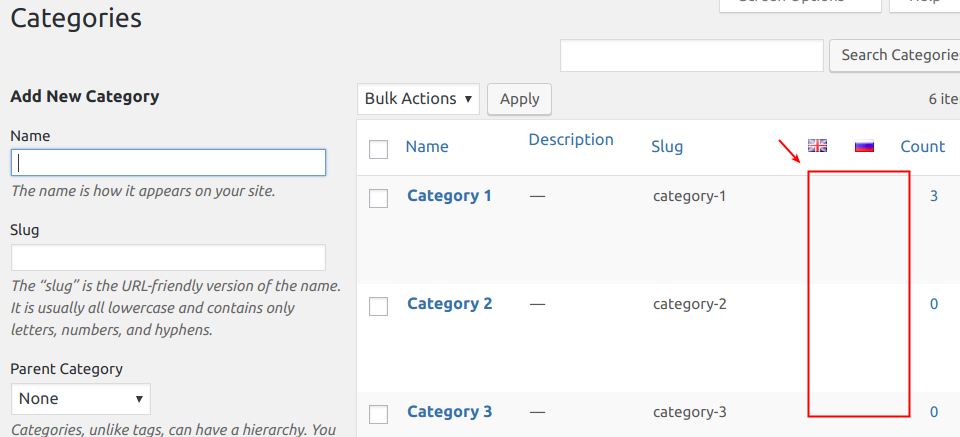
- Go to Posts > Categories. Take a notice that your categories don’t belong to any language at the moment. Hence you see no icons under the languages’ flags:
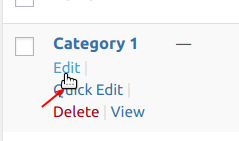
- Click Edit for the Category 1:
- You will see Edit Category screen. Click the Update button.
- Click Posts > Categories once again. You will see that your dummy Category 1 now displays two icons under the language flags:
![]()
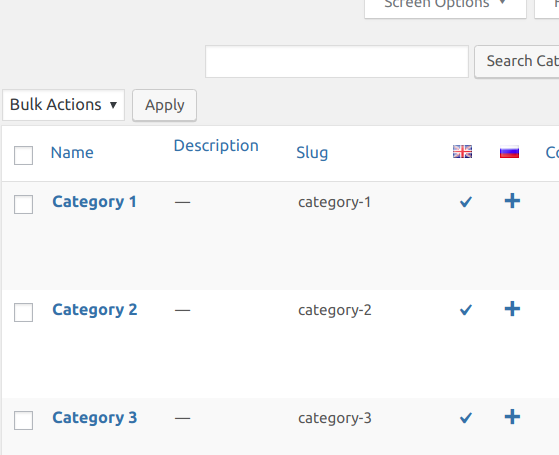
The checkmark is placed right under the English language flag. This means that Category 1 has been assigned to your source English language.
- Repeat this step for the two remaining categories: Category 2 and Category 3.
With all three dummy categories assigned to the source English language, your list of categories should now look similar to the one in the image below:
- Apply the same step to your three dummy posts. Your list of posts should now look similar to the one in the image below:

- Apply the same step to your three dummy pages.

Excellent! You are now ready to start translating your WordPress content.
Step #4. Translate Content to the Target Language
- Go to Posts > Categories. Click on the plus icon:

- Type the Category 1 title translated into your target language in the Name field and click Add New Category at the bottom of the page.
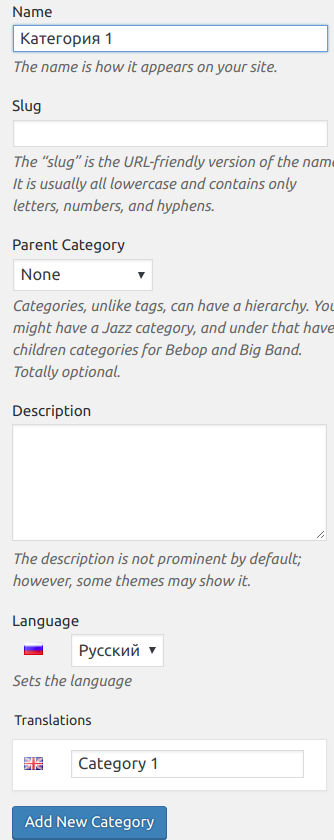
Good job! You just translated your Category 1 category from English to your target language. As the result, you can see this new source/target pairing of categories in your list of categories:
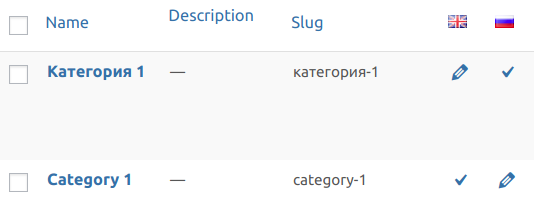
Notice that the plus icon has been now replaced by a pencil icon.
- Apply the same step to the rest of your dummy categories, and then to your pages and posts.
Step #5. Create Menus for the Required Languages
With your content now ready in both source and target languages, it’s a good time to create a menu for each language. You will display each menu to your multilingual WordPress site visitors with a language switcher.
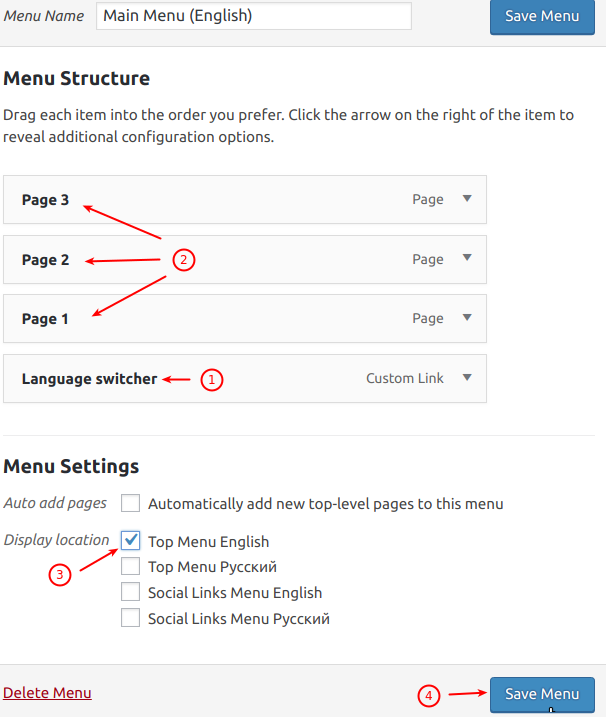
- Go to Appearance > Menus and create Main Menu (English) menu.
- At the top of the page, click Screen Options.
- Click Language switcher.

You will see the Language switcher now available to be added to your Main Menu (English).

- Add Page 1, Page 2 and Page 3 to the Main Menu (English).
- Click Add to menu to add the Language switcher to the Main Menu (English).
- Under Menu Settings click in the Display location checkbox next to the Top Menu English.
- Click Save Menu.
- Click create a new menu.
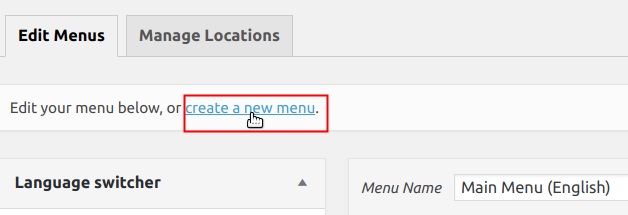
- Now repeat the previous steps and create a menu for the target language. Make sure you add to this menu your translated pages.
If you check your WordPress site now, you will be able to switch it between the two languages:
English:

and Russian:

You might have noticed that the site name and tag still display in English. Let’s get them translated.
- Go to Languages > String Translations.
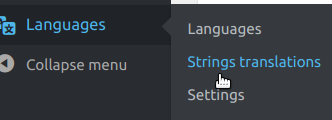
- Translate the Site Title and Tagline to your target language.
- Click Save Changes.

If you check your WordPress site now, you will notice that additionally to its content, the site name and tagline are now bilingual as well.
