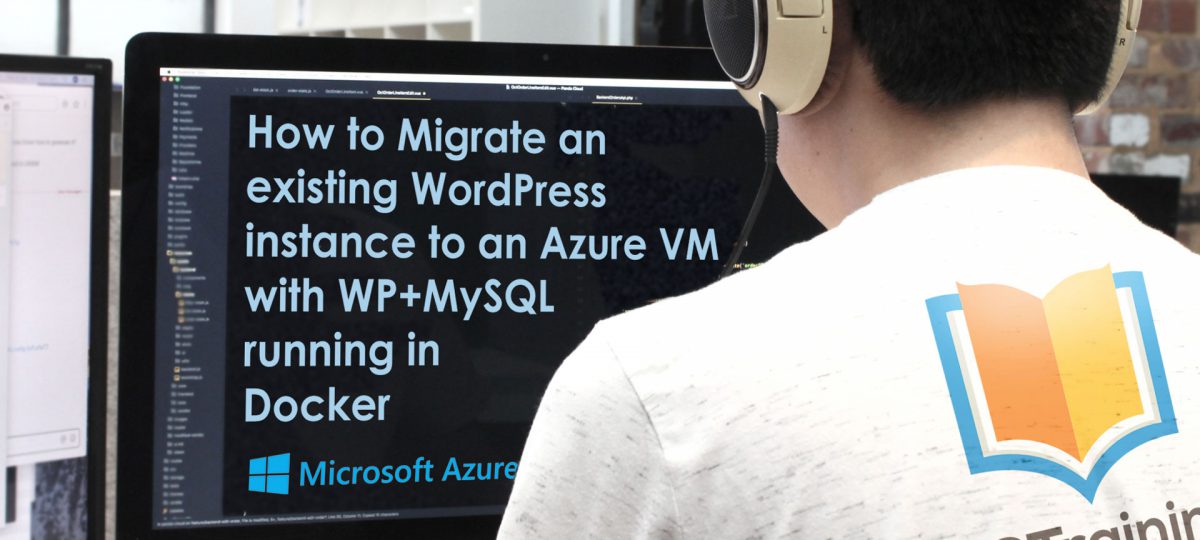
How to Migrate an existing WordPress instance to an Azure VM with WP+MySQL running in Docker
All deployments of WordPress require an installation of PHP for running WordPress Core and associated extensions, along with a MySQL database for backing storage of your content and configurations. While configuration of these services is well documented, it can create confusion for the uninitiated and could impact the time required to stand up your site instance. With the advent of Docker, many Content Management Systems like WordPress can now be shipped with environmental dependencies and software prerequisites pre-configured, allowing you to create a new site instance rapidly that is completely isolated from the host environment.
Microsoft Azure offers the ability to deploy Azure Resource Manager (ARM) Templates that leverage Docker-Compose to stand up containerized applications in just a few clicks. Using Docker allows us to create an isolated user environment that fulfills the PHP + MySQL requirement and is portable across any VM for which the container’s source architecture matches the target. While WordPress can run directly on an Azure VM or deployed as a standalone Azure App Service, a Docker container is portable across any host capable of running a Docker compatible OS. Due to this capability, you could lift and shift your containerized application between various cloud providers provided access to a host environment that is compatible with you containerized app.
If you already have a WordPress deployment and are interested in moving your instance to run in a container, you are in luck! Migrating an existing WordPress instance to an Azure VM running Docker can be done in five easy steps!
Here is exactly how I did it for my personal blog.
Step #1. Deployment
- Deploy the WordPress + MySQL template from the Azure-Quickstart-Templates Repo, by clicking the “Deploy to Azure” button

Step #2. Install & Export
Head to your original WordPress instance and
- install All-In-One WP Migration, then
- export your site

Step #3. – Point A Record
- While exporting, point your existing A record for your custom domain to the ip address of the VM that was deployed in Step 1 (if you have one).
This can be found in the Network Interface of your deployment from Step 1. Be aware that your domain name may take a while to propagate depending on your TTL settings with your DNS host.

If you are using GoDaddy as your registrar, this would look like:

Step #4. – Configure / Install / Import
- Head to the ip or domain name of your newly deployed VM and configure your new WP instance.
- Once complete, install All-In-One WP Migration to your newly deployed site and import your exported .wpress file from step 2.

Step #5. – Update Settings
- Update your new deployment settings to reflect your custom domain in the “WordPress Address” and “Site Address” sections.

Conclusion:
Using Azure Quick Templates, you can easily deploy a variety of services in just a few clicks. In this case, we were able to migrate a WordPress blog originally hosted as an Azure App Service to an Azure VM running WordPress on Docker. As a result, we get the benefits of running in a pure PHP+MySQL environment without the need for manual configuration plus the ability to scale our deployment as needed on the Azure platform!
the headline got me … but what you promote here is a wp-plugin
this article sucks
The value of parameter linuxConfiguration.ssh.publicKeys.keyData is invalid.
I received above error
Getting attached error
Just an FYI – I get a database error ” can’t establish a database connection – Isn’t it created during the deployment?
Azure no longer has a WordPress template, you should update this article to reflect that.