Set Up Linux DDEV Environments for WordPress and Drupal

When developing Drupal or WordPress sites locally on their machines, Linux users work traditionally with a LAMP stack.
LAMP is useful, but, there are now more modern tools to help you improve your development workflow. One of these new tools is DDEV.
Local Web Development With DDEV Explained is a book from OSTraining which shows you how to do local development in a way that matches modern development workflows.
The book focuses on using DDev on Mac and Windows machines. Building on the book, this guide shows you how to install DDEV on your Linux (Debian/Ubuntu-based) machine.
A LAMP stack is an internet infrastructure system composed of the following tools:
- L – stands for Linux (the operating system)
- A – stands for Apache (the HTTP server)
- M – stands for MySQL (the relational database management system)
- P – stands for PHP (the programming language)
DDEV, however, is a Docker-based local development environment. In other words, you have multiple software (Docker) containers, which can have different (virtualized) operating systems, database management systems or even a different version of the same programming language for each application. This spares development and deploying time.
Let’s take a look at how to install it.
Step #1. Install Homebrew
The recommended way of installation of DDEV is with Homebrew. Homebrew is a package manager that simplifies the whole process. It is also known as Linuxbrew.
- Open your terminal application and type:
sh -c "$(curl -fsSL https://raw.githubusercontent.com/Linuxbrew/install/master/install.sh)"
- Press Enter
- Enter your root password and hit Enter once again

The system will finish with the installation of Homebrew. It will also prompt you about adding the script to your $PATH, in other words making it executable by typing the command brew in your terminal.

- Type these terminal commands one by one:
test -d ~/.linuxbrew && eval $(~/.linuxbrew/bin/brew shellenv)
test -d /home/linuxbrew/.linuxbrew && eval $(/home/linuxbrew/.linuxbrew/bin/brew shellenv)
test -r ~/.profile && echo "eval $($(brew --prefix)/bin/brew shellenv)" >>~/.profile
echo "eval $($(brew --prefix)/bin/brew shellenv)" >>~/.profile

If your system is based on RedHat, CentOS, or Fedora, replace .profile with .bash_profile.
Step #2. Install DDEV
Once Homebrew is in the $PATH, you can use it by typing the command brew.
- Type:
brew tap drud/ddev && brew install ddev
This will install DDEV and other required dependencies.

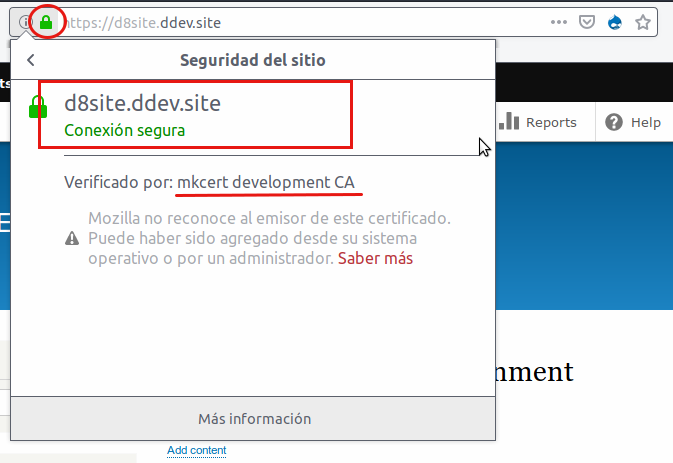
Once DDEV is installed, you need to run the installation command for mkcert, a tool that provides valid SSL certificates for your local development environment. A site domain with a valid SSL certificate starts with https:// instead of http://
- Type:
mkcert -install
Check the system logs and resolve all missing dependencies if the installation was not successful and try again.


Step #3. Install Docker
Remove any old Docker installation on your system if available.
- Type:
sudo apt-get remove docker docker-engine docker.io containerd runc

sudo apt-get update
sudo apt-get install apt-transport-https ca-certificates curl gnupg-agent software-properties-common
- Type Y and hit Enter to proceed with the installation
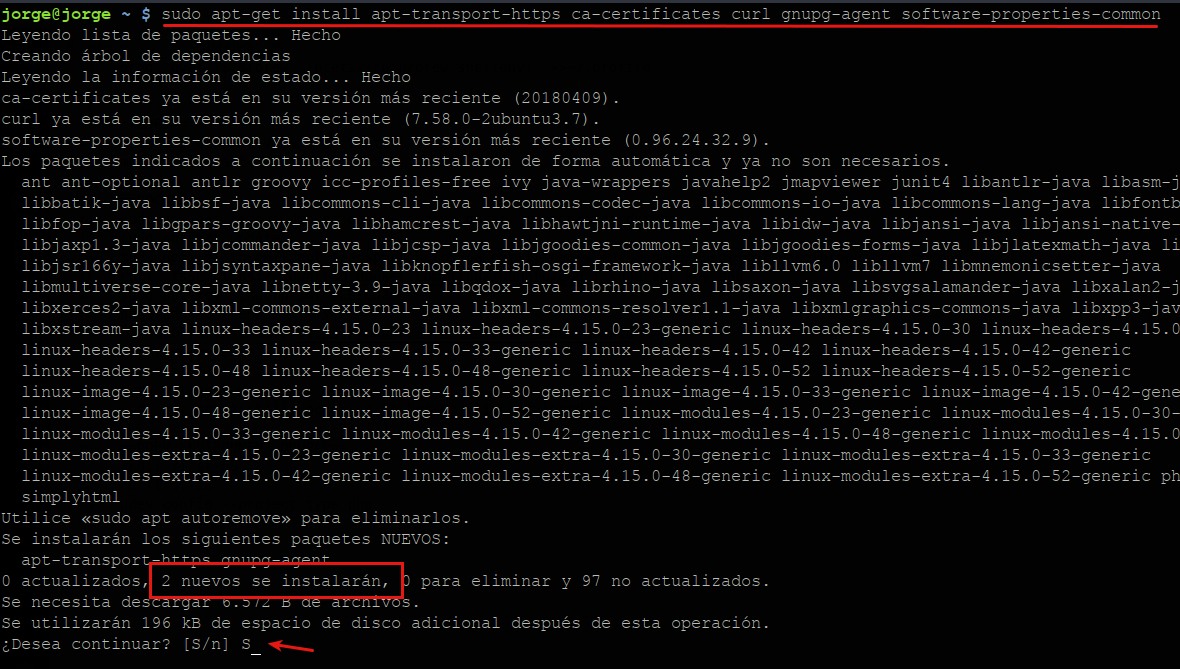
The system will install all the needed packages. You can now add the Docker repository key to your system.
- Type:
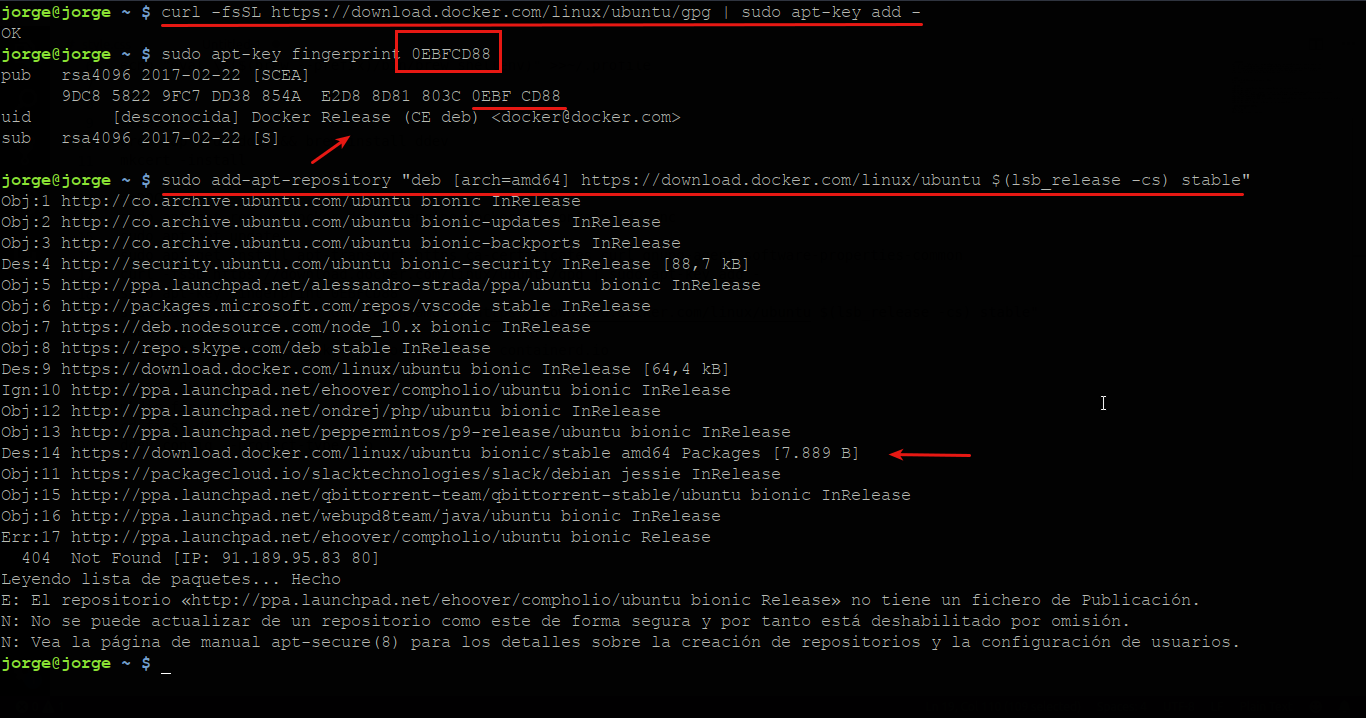
curl -fsSL https://download.docker.com/linux/ubuntu/gpg | sudo apt-key add -
sudo apt-key fingerprint 0EBFCD88 (Check that both fingerprints are equal)
sudo add-apt-repository "deb [arch=amd64] https://download.docker.com/linux/ubuntu $(lsb_release -cs) stable"
sudo apt-get update
- Type:
sudo apt-get install docker-ce docker-ce-cli containerd.io

Step #4. Install Docker Compose
Compose is a Docker tool which lets you define and execute multiple applications within the software containers.
- Type:
sudo curl -L "https://github.com/docker/compose/releases/download/1.24.1/docker-compose-$(uname -s)-$(uname -m)" -o /usr/local/bin/docker-compose (the current version is 1.24.1)
sudo chmod +x /usr/local/bin/docker-compose (in order to make the script executable)

Check the Docker and Docker Compose installed versions with docker-compose --version and docker --version.
Step #5. Docker Post Installation Steps
Now it is time to check if Docker is working properly.
- Type:
sudo docker run hello-world

As you can notice, you can run Docker only with root privileges. To manage Docker as a non-root user, it is necessary to create a docker group and add users to it.
- Type:
sudo groupadd docker
sudo usermod -a -G docker $USER
newgrp docker
docker run hello-world

If you do not get the expected result, reboot your system and type the last two terminal commands once again.
Step #6. Testing DDEV with Drupal
DDEV runs by default on port 80 and so does Apache. To avoid this conflict you have to stop Apache.
- Type:
sudo service apache2 stop
Download and uncompress the latest Drupal core release (current version 8.7.6). There is no need to place it in the /var/www/html directory.
- Type:
wget https://ftp.drupal.org/files/projects/drupal-8.7.6.tar.gz
tar xzvf drupal-8.7.6.tar.gz

*Alternatively you can type:
wget https://www.drupal.org/download-latest/tar.gz to download the latest Drupal version
- Rename the directory and access it:
mv drupal-8.7.6 test-site-d8
cd test-site-d8
composer install

- Type:
ddev config
This command creates the DDEV project config directory in the root of your Drupal installation (it will take a little bit longer the first time).
- You may change the project name or leave the directory name by hitting Enter
- Press Enter once again to set the docroot
- Press Enter to select the drupal8 codebase found by DDEV

- Type:
ddev start

- Open the provided link in your browser.
You should see the installation screen.

- Hint: After installation Click Configuration > Performance > Clear all caches. You will see that it works much faster than your LAMP environment. It will be a little silent joy…
Step #6. Testing DDEV with WordPress
- Type:
mkdir test-site-wp
cd test-site-wp
ddev config --project-type=php
ddev composer create wordpress/skeleton --no-interaction --prefer-dist

ddev config --docroot=wp --project-type=wordpress
ddev start


Congratulations!
If you want to dig deeper into DDEV, join OSTraining and get access to the DDex Explained book.
The DDEV official documentation can be found here.
Thanks for reading!
Could you please guide me how can i setup same two or multiple environments in Windows 10 please guide me