Embed a YouTube Player as a Media Asset Into CKEditor in Drupal 8
The new media capabilities in Drupal allow you create a media library with all kinds of media assets and use these assets everywhere.
One way to use them is to embed these assets directly into CKEditor.
In this tutorial, I will show you how to pull a video from Vimeo with the Video Embed Field module. You will only need to store the video URL on your Drupal site. This will come in handy for a lot of site editors. Let’s start!
Step #1. Install the Required Modules
There are a couple of modules we need to download and install in order to be able to embed media assets directly into CKEditor. These modules are:
- Media Entity.
- Video Embed Field, allows us to create a Video – Media Bundle with a Youtube/Vimeo URL.
- Entity, a dependency required for Media Entity.
- Embed, a dependency required for Entity Embed.
- Entity Embed.
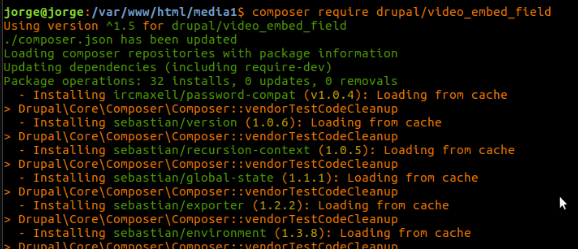
In my example, I used Composer for installation.
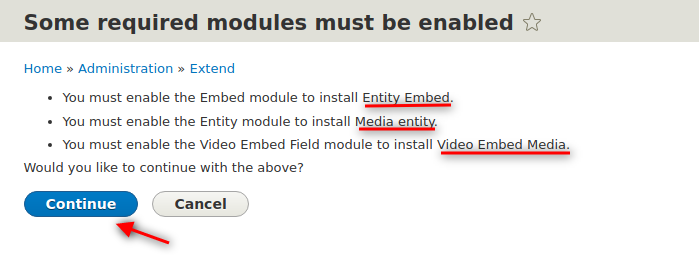
- Enable Media Entity, Entity Embed, and Video Embed Media modules.
- Click Continue.
Step #2. Create the Video Media Bundle
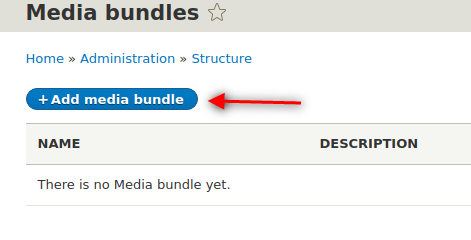
- Click Structure > Media bundles.
- Click Add Media Bundle button.
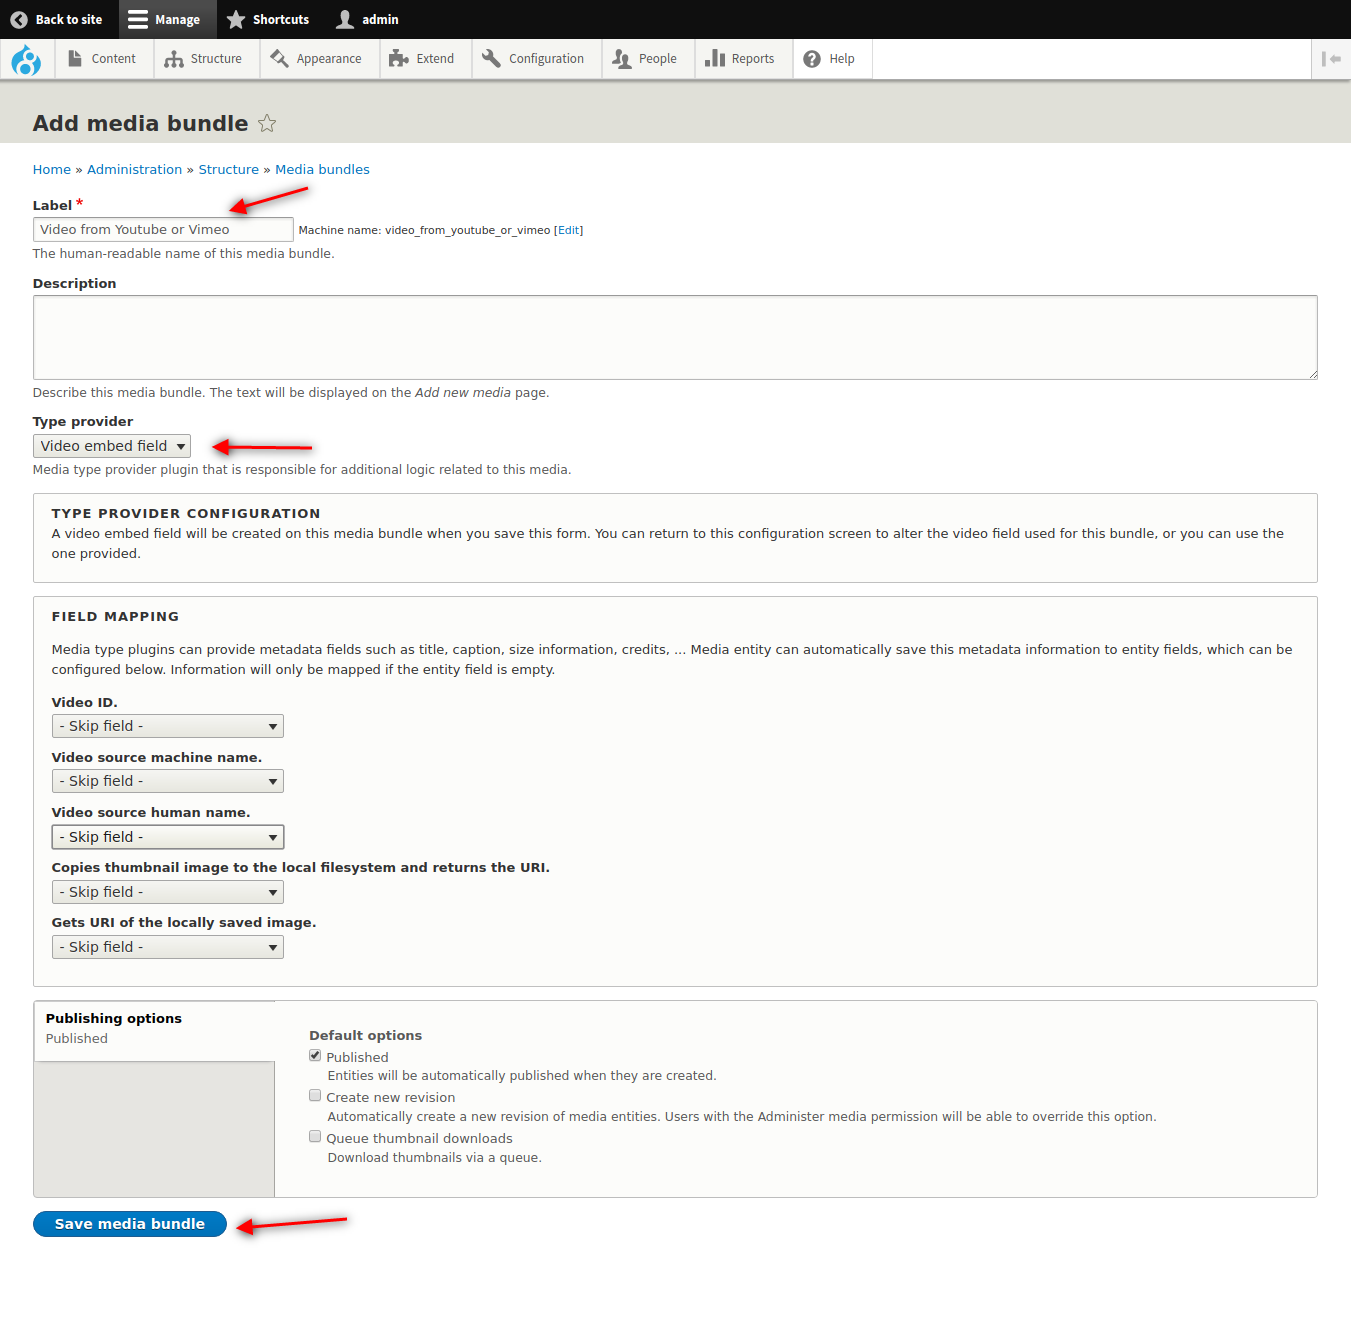
- Give the field a proper label.
- Under the Type provider field, choose Video embed field.
The FIELD MAPPING group refers to additional metadata that can be attached to the media in form of additional entity fields. For the purpose of this tutorial, I’m going to leave this area as is.
- Click Save Media Bundle.
- Click the little arrow to the right of the Media bundle.
- Choose Manage fields.
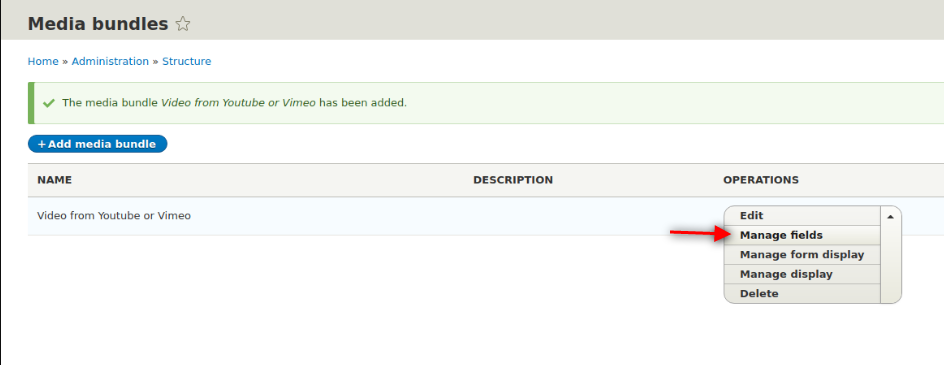
You’ll notice that your Media bundle already has a field in it. There was no need to create it because you already chose the Type provider in the previous step and it automatically added it.

- Rebuild the site cache.
Step #3. Create the Media Assets
- Click Content. You will see the Media tab appeared.
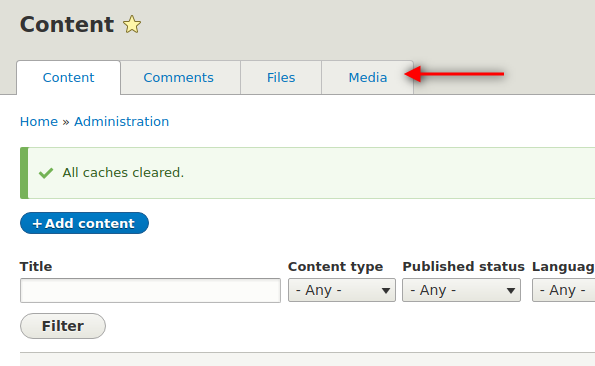
- Click Media.
- Click Add media.
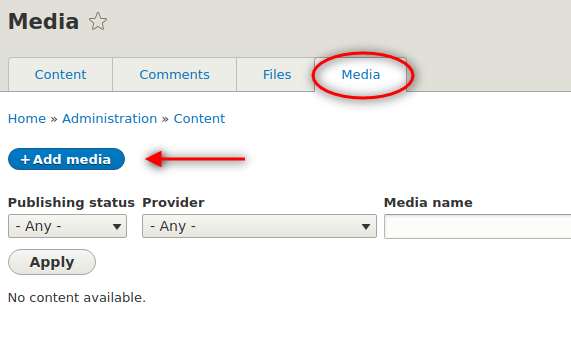
- Add a label for your media asset and enter a properly formatted URL.
- Click Save and publish.
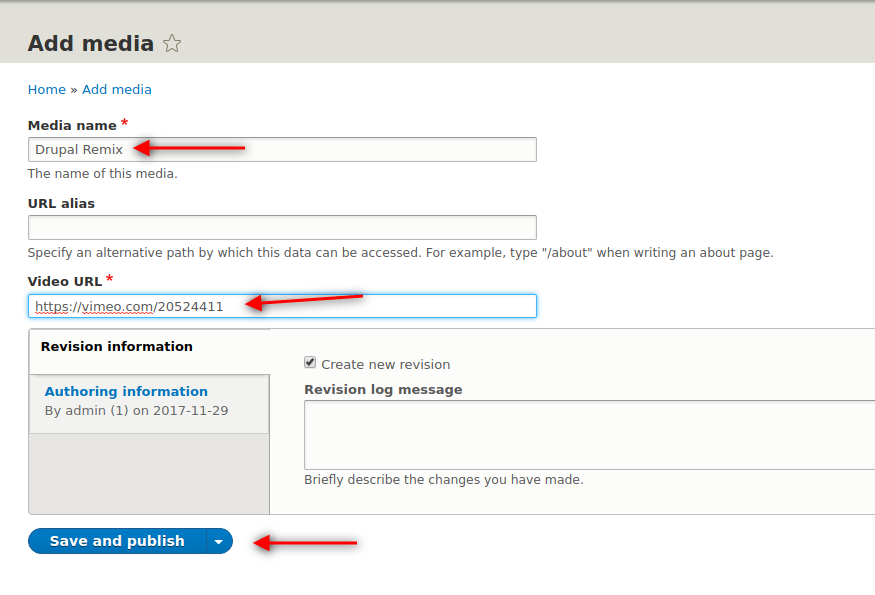
You have just created a Media bundle and a Media asset inside that bundle. Think of your media bundles as an analogous concept to Content types and your Media assets as the actual content.
Step #4. Create the Embed Button in the Editor
- Click Configuration > Content authoring > Text editor embed buttons.
There’s already a button by default. This button will be used to embed node entities into the text area of the editor. We need to create a button to embed media entities.
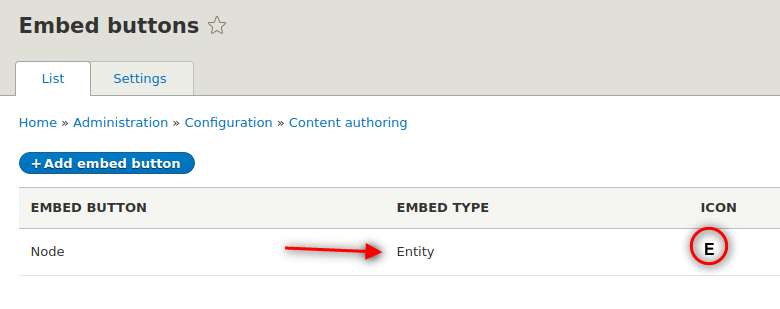
- Click Add embed button.
- Give it a proper name.
- Under Embed type select Entity.
- For the Entity type choose Media.
- Click the Select file in order to choose an icon for the button that will be displayed in CKEditor’s toolbar. Otherwise, the same E icon will be displayed and this can lead to confusions between embedding nodes or media entities.
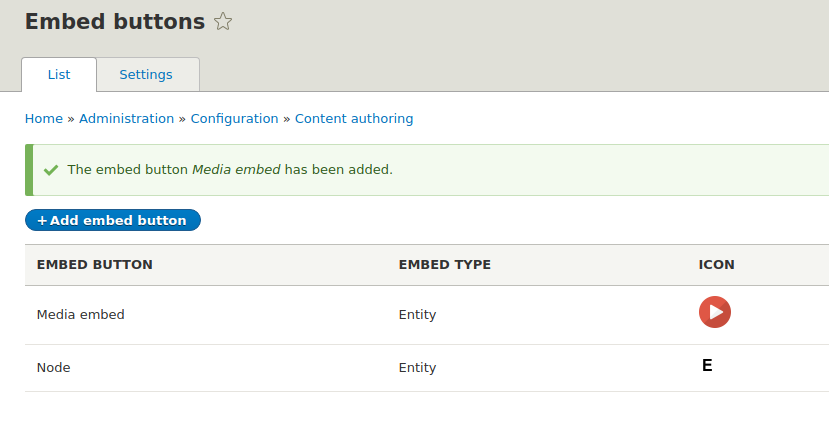
- Click Save.
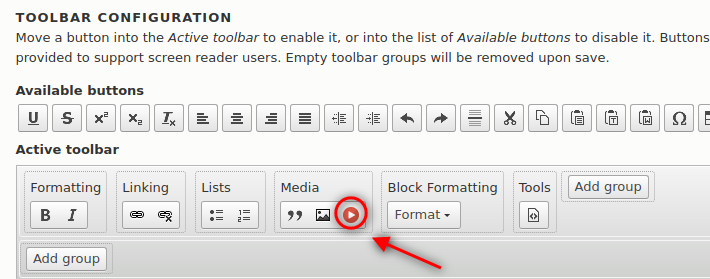
Step #5. Add the Icon to the CKEditor Active Toolbar
- Click Configuration > Content authoring > Text formats and editors.
- Edit the Basic HTML format by clicking Configure on the right. We’re assuming that this format is only for editors with the privilege of embedding videos on your site. Don’t do this if everybody (all authenticated users) has access to the Basic HTML format (this is just an example).
- Select your Video embed button and drag it to the Media area of the CKEditor Active toolbar.

- Check the Display embedded entities filter.
- Click Save configuration.
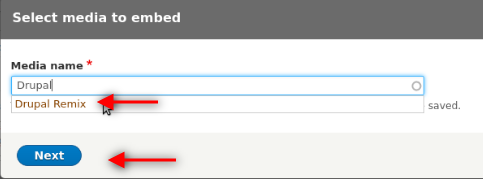
Step #6. Create an Article and Embed Your Media Asset
- Click Content > Add content > Article.
- Add a title and some text.
- Click Media Embed.
- Start typing the name of your media asset in the text box, choose it and click Next.
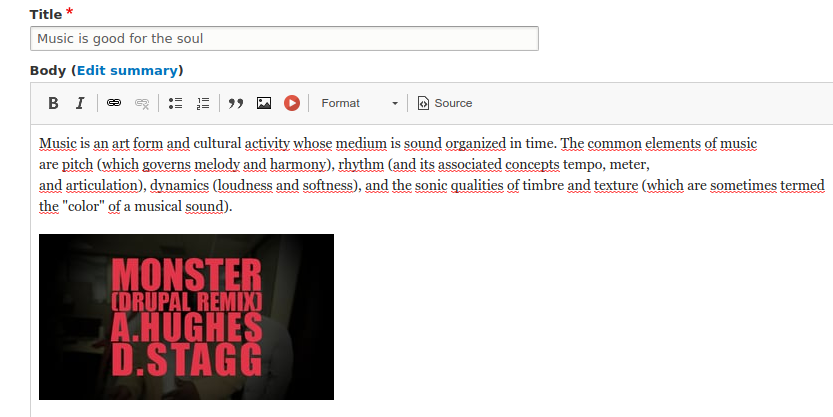
- Change the display to Thumbnail.
- Click Embed.
You will see the thumbnail of the video URL you saved as media asset, however, we want to embed the player and not just a thumbnail.
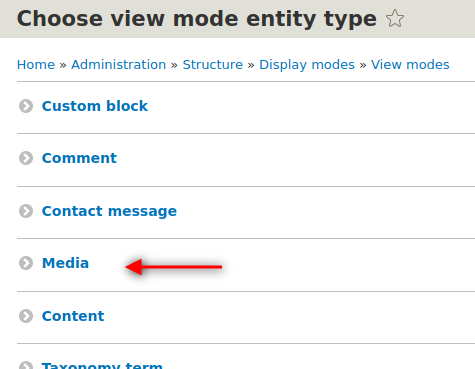
Step #7. Create a Video Player View Mode
- Click Structure > Display modes > View modes > Add new view mode.
- Click Media.
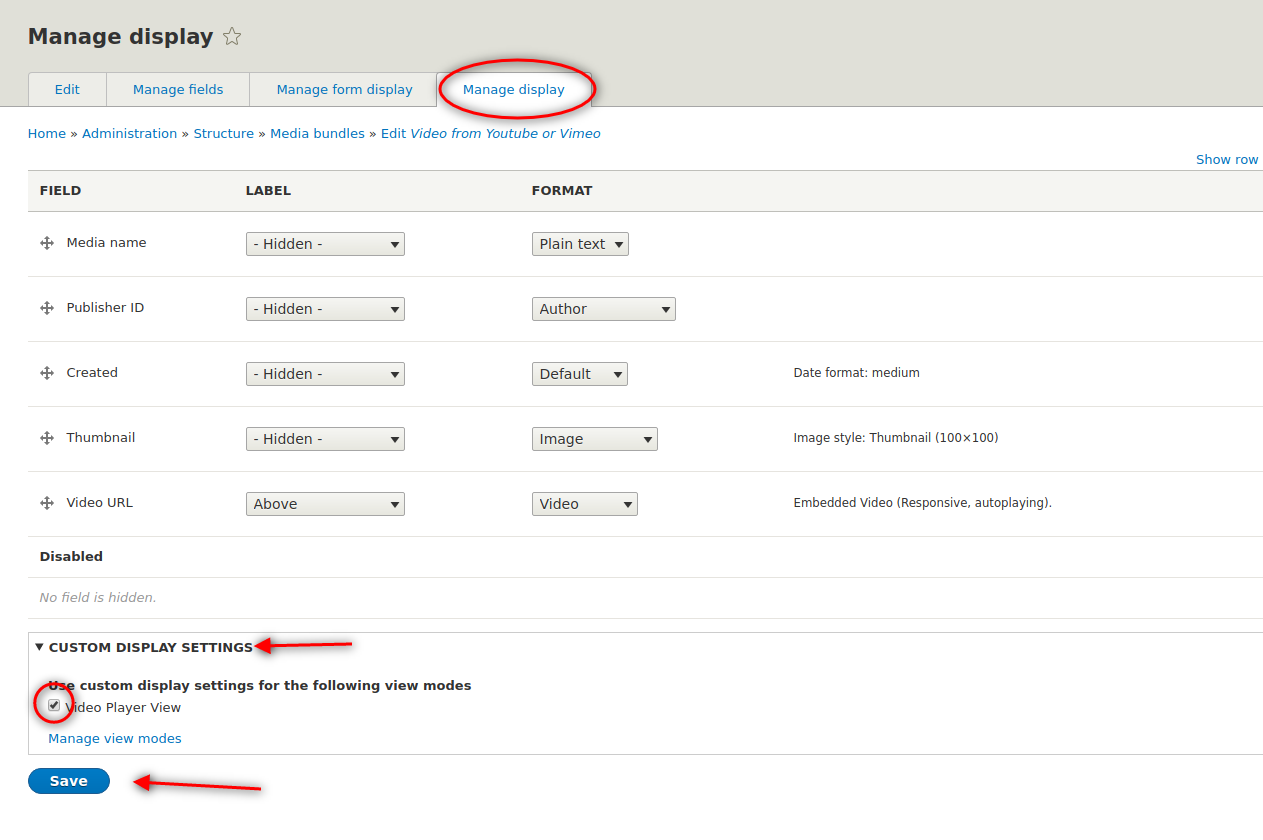
- Write a proper name, for example, Video Player View and click Save.
- Now that you’ve created the view mode click Structure > Media bundles.
- On the right of your Video – Media bundle click Edit.
- Click the Manage display tab.
- Click CUSTOM DISPLAY SETTINGS and choose your recently created View mode.
- Click Save.
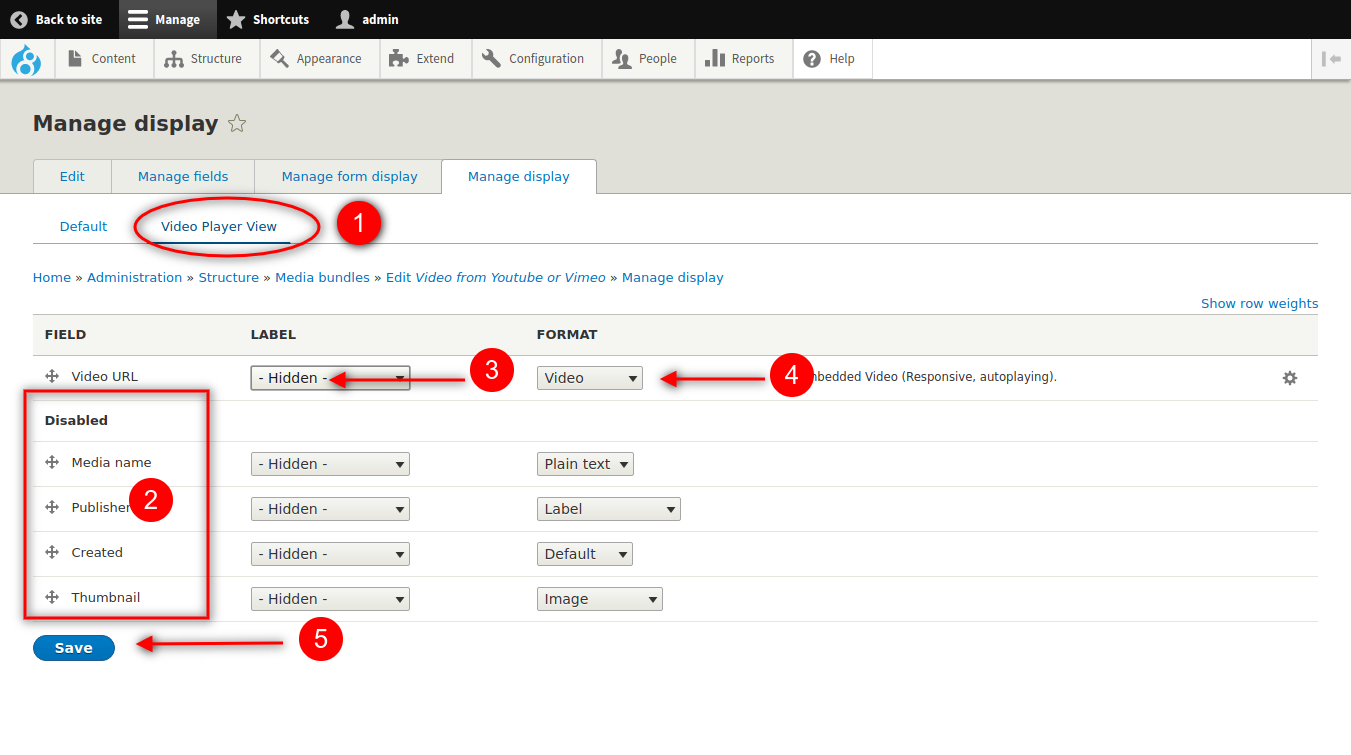
- On the top, you will see the recently enabled Video Player View mode.
- Click it and drag all fields except the Video URL field to the Disabled Section of the form.
- Hide the label.
- Make sure the format is set to Video.
- Click Save.
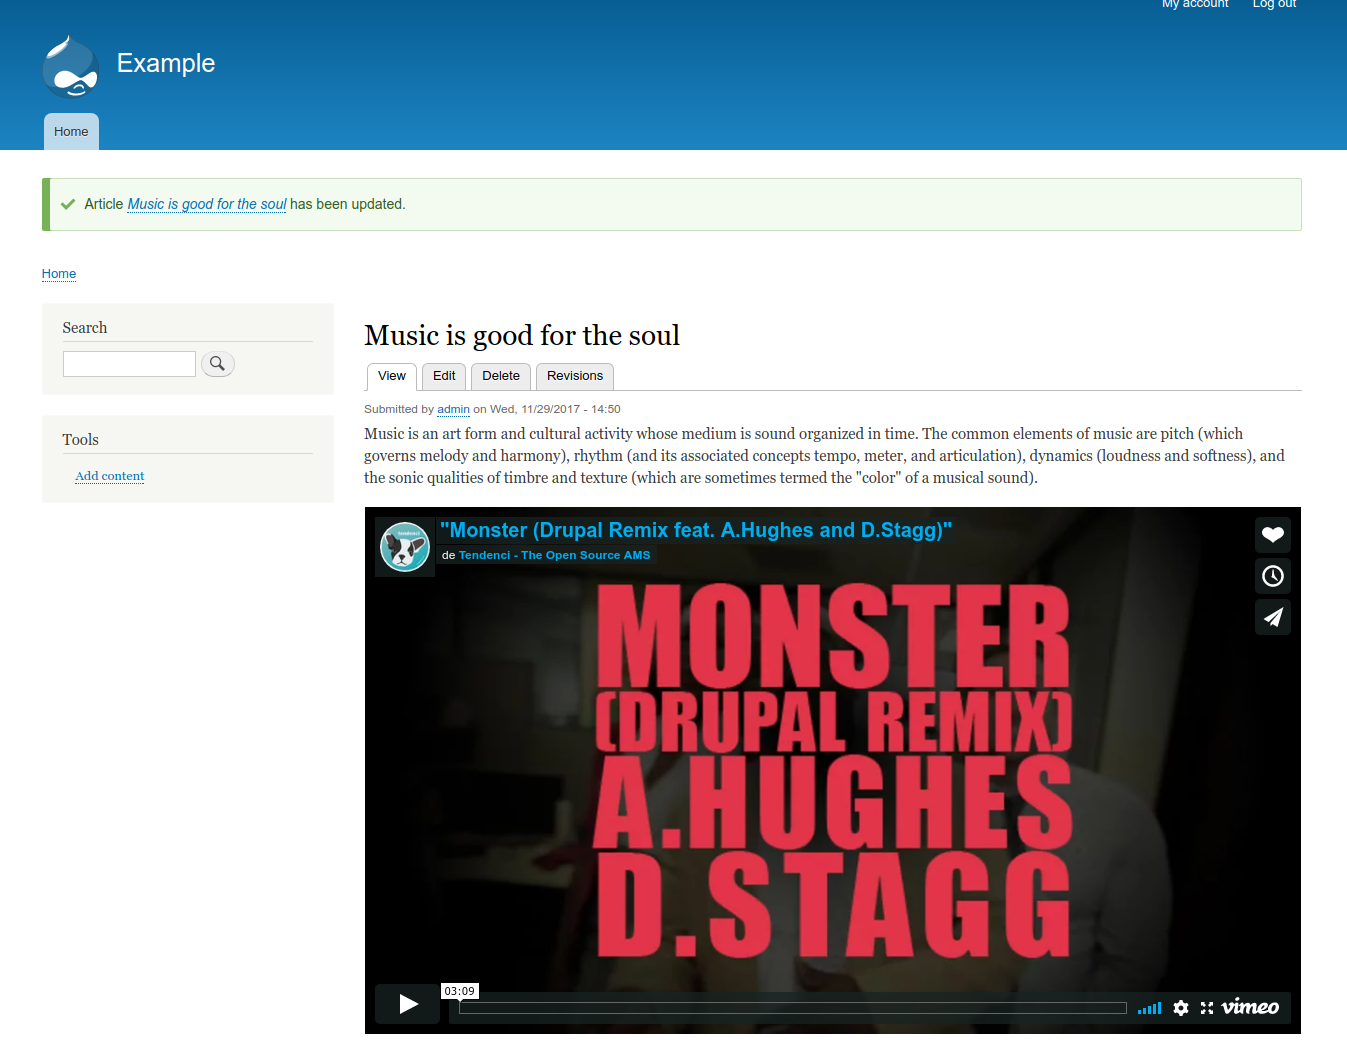
- Rebuild the site cache.
- Go back and open up your article.
- Double click the video thumbnail.
- Select Display as Video Player View, or whatever you called your View mode at the beginning of this step, in the dropdown list.
- Click Embed.
- Save the node.
The Youtube/Vimeo player has now been embedded in your article.
Your site editors will be happy to work this way. I hope you enjoyed reading this tutorial. Please leave your comments below. Thanks!
If you want to learn more Drupal, join OSTraining now. You’ll get access to a vast library of Drupal training videos, plus the best-selling”Drupal 8 Explained” book!

Good tutorial! Thanks for the easy to follow guide 🙂
This is why all designers need OSTraining. Easy to follow and set up. However, I got lost from 7 going forward. I set my video up as full and it plays the video, no thumbnail.
Interesting. But what is the purpose of this technique ? Simply integrate vidéo in an article ?
I have installed all modules, but media entity module is unable to install
There was dramatic changes in D8 since this tutorial had been written. The 1st is that Media now is part of D8 core. The 2nd – a lot of functionalities of contrib modules have been added into D8 core too.
Does anybody know what modules are actual and have to be installed right now?