How to Embed “Buy Now” Stripe Buttons in Drupal

Would you like to avoid a hassle of processing and keeping your online customers’ card details? Stripe is a global online payment gateway you can quickly start using just for that.
In this tutorial, you will learn how to easily embed the “Buy Now” button from Stripe into your Drupal content. You will be able to integrate the Stripe Checkout even if you don’t know how to write code.
Stripe collects the credit card’s information from your customers and sends a token to the browser, which redirects it to your web site’s server.
With this information, your server is able to make a request to create a charge and complete the payment.
Your server won’t get the credit card details at any time. That’s the reason why this method is so secure.
The Stripe Checkout module will allow you to embed a button, that integrates your site with the Stripe platform (more precisely with your Stripe account).
The module complies with the CSP (Content Security Policy) standard.
Note: before starting this tutorial, please make sure:
- You signed up for a free Stripe account.
- You are running your Stripe account in the Test mode.
Let’s start!
Step #1. Install the Required Modules
- Download the Stripe Checkout module.
- Install it using Composer.

- Enable the “Stripe Licensing” module.
- Click Install.
You will be prompted to enable two additional modules: the “Stripe API” and the “Key”.
- Check the Stripe Licensing check box.

- Click Continue.

Step #2. Get the Stripe API Keys
- Go to your account’s dashboard in Stripe.
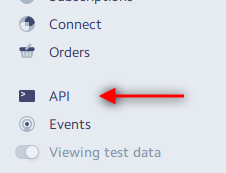
- Click the API menu item on the left.
- Copy from your Stipe account the following two API keys:
- The Publishable key.
- The Secret key.

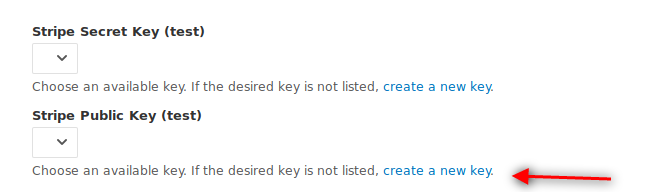
- Back in your Drupal site, click Configuration > Web Services > Stripe API.

- Click on the “create a new key” link under the Stripe Public Key (test) section.
- Enter a proper title.
- Paste the Publishable key that you copied from your Stripe dashboard.
- Leave the defaults intact.
- Click Save.

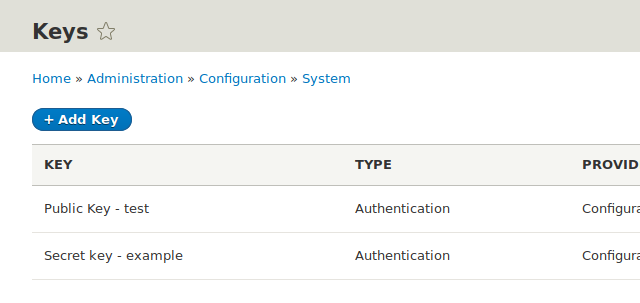
- Click Add Key.
- Repeat the same process for the Secret key.
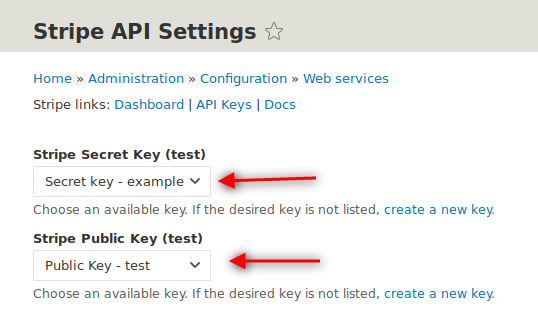
- Click Configuration > Stripe API once again.
- Doublecheck to make sure that you assigned the keys properly.
Excellent! You just finished configuring the Stripe “Buy Now” button on your Drupal website. Next, you will learn how to add this button to your Drupal content.
Step #3. Create Your Content with the Stripe Button
-
- Click Structure > Content types > Add content type in order to create a “T-shirt” content type.
- Add the following fields:
- Size (field type List, Allowed number of values > 1).
- Color (field type List, Allowed number of values > 1).
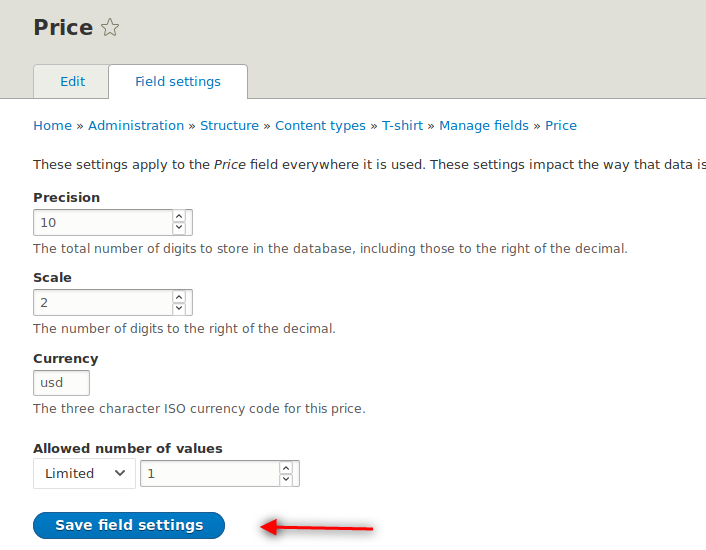
- Price (field type Stripe Checkout, Allowed number of values > 1).
- Image (field type Image, Allowed number of values > 1).
- Leave the defaults intact.
- Click Save field settings.
- Rearrange the display of the fields.
- Click Save.

- Click Content > Add content > T-shirt.
- Add your content.
- Click Save.

- You will see your newly created node with the blue “Buy Now” button underneath.
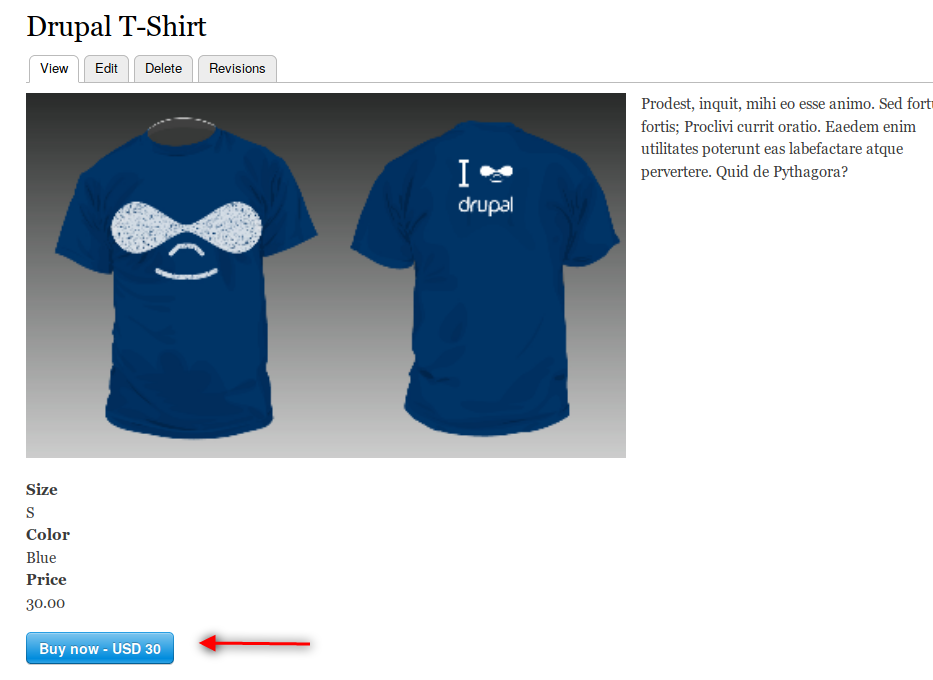
- Click that button.
- Fill the Stripe form with this data:
- Credit Card number: 4242 4242 4242 4242.
- Date: any future date.
- CVV: any three digits.
- ZIP Code: any five digits.
- Click Pay.

- You’ll see a green confirmation button.
- Now go to your Stripe dashboard and check your payments.

Congratulations! You’ve configured the Stripe Checkout module correctly. Thanks for reading!
Additional Reading
- Drupal Commerce – eCommerce for Drupal
- Drupal’s Basic Cart Module: So Close, But …
- What’s Happening With Drupal Commerce in Drupal 8?
Join OSTraining to learn more about how to build great websites with Drupal. Find a video class appropriate to your Drupal skills and bring them up to the next level by watching and practicing.