Development Environments for Drupal with Vagrant and Scotch Box
Your local websites are always developed within the same operating system, that is the operating system of your machine (Windows, OSX, Linux). However, the online version of your site is probably hosted on some type of Linux server. Vagrant allows developers to have the conditions to replicate these systems within a Vagrant box. There are multiple kinds of boxes since Vagrant is a very popular alternative amongst developers. One of these boxes is called Scotch Box. Scotch Box is a preconfigured Vagrant Box with a LAMP (Linux, Apache, MySql, PHP) or a LEMP (Linux, Apache/Ngnix, MySql/MongoDB, PHP) stack in it.
This tutorial will explain the basic installation of these tools. Keep reading to learn how!
Required Tools
- Vagrant
- VirtualBox
- Git
- Scotch Box
Step #1. – Install Vagrant
- Download the Vagrant installer for your operating system
- Double click or whatever you do to install applications on your system
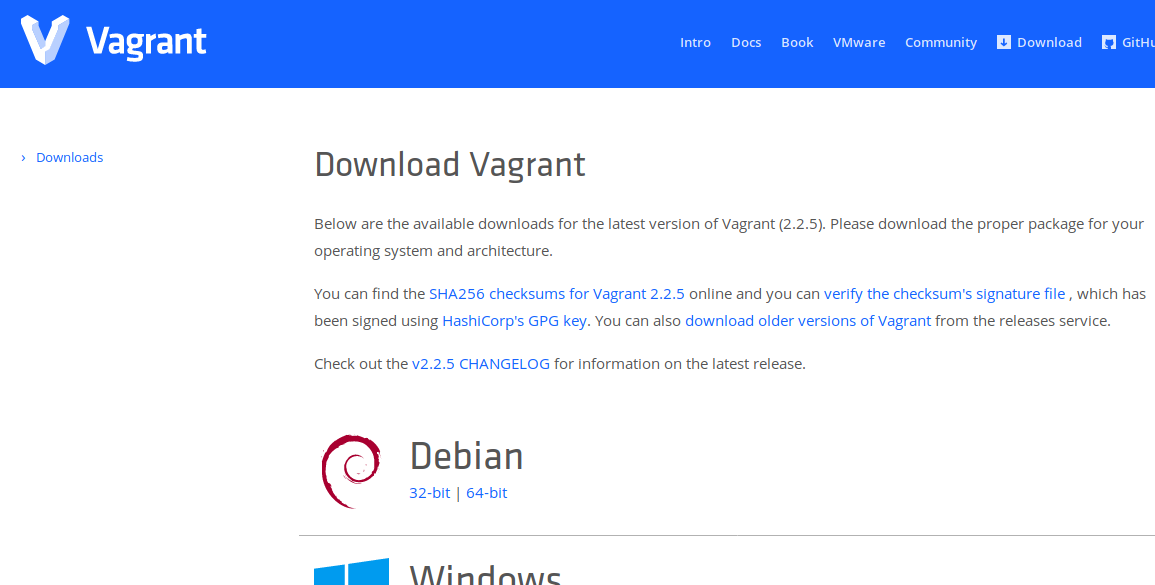
After installation, open the terminal application of your system and type:
vagrant -v

Step #2. – Install Virtualbox
- Download the Virtualbox installer for your operating system
- Install this application on your system too
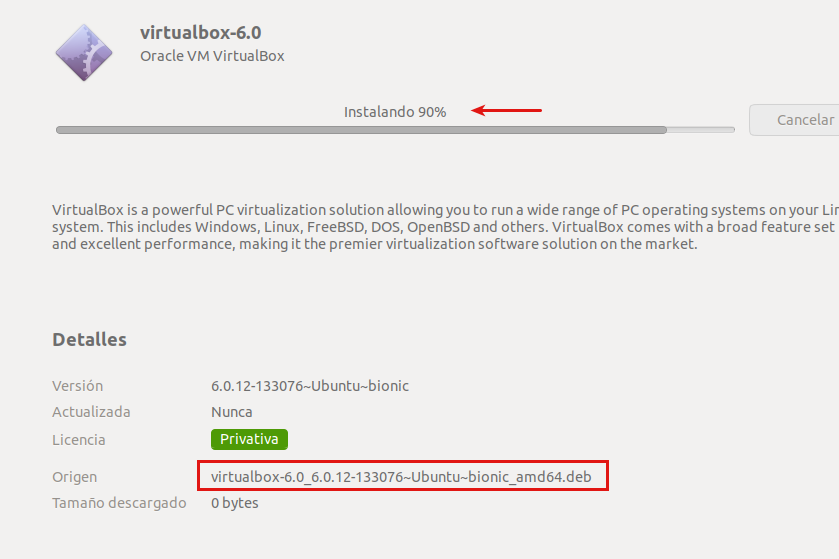
If you type virtualbox -v on your terminal, it will open Virtualbox. That means it has been installed correctly. You can now close Virtualbox.
Step #3. – Install Git
Git has pretty much the same installation procedure. So here is a link to the downloads page.
Step #4. – Clone Scotch Box
Once you have downloaded and installed everything required, go to the terminal application of your system and head over to your Projects folder and type:
git clone https://github.com/scotch-io/scotch-box mydrupalbox
mydrupalbox is the name of the project (or the box), so you can replace this name with your own project name.

- cd mydrupalbox
- ls
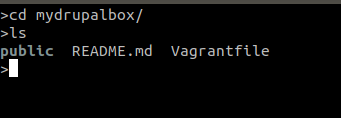
Take a look at the contents of the project folder, and you will see the same files as in the Github repository (from where you actually have cloned them).
- Type vagrant up
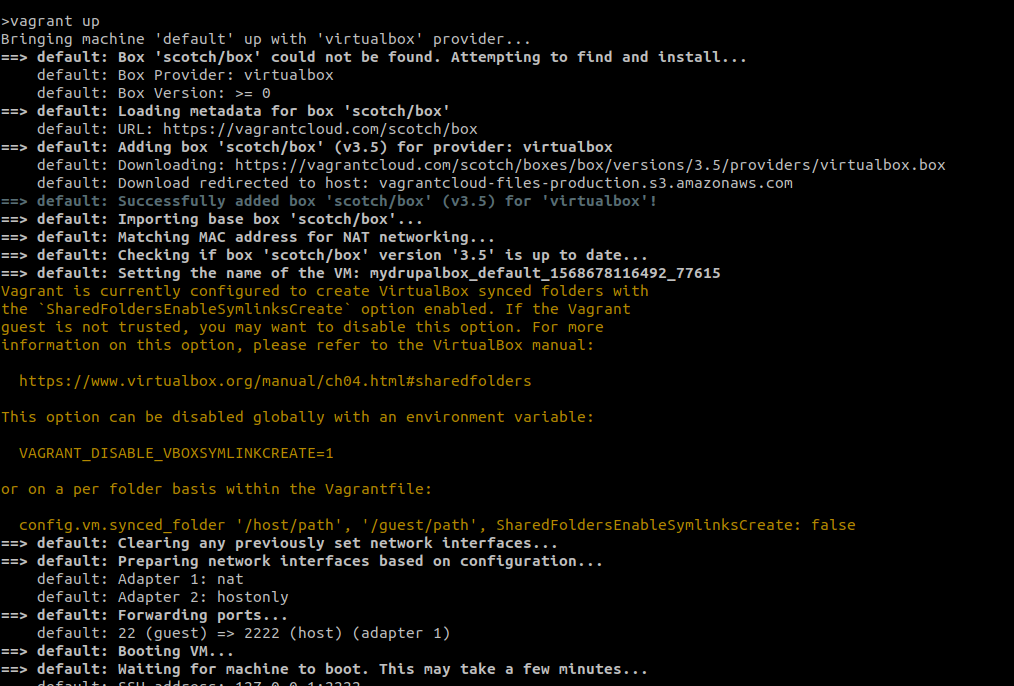
This will take some time depending on the speed of your internet connection. Take into consideration that your box is going to contain a whole operating system.
Once the installation process has finished, open your browser and type in the address bar:
192.168.33.10
You can scroll down and take a look at the configuration defaults of Scotch Box.

Step #5. – Access Scotch Box via Terminal
- Type in your terminal:
vagrant ssh

You are now inside a Ubuntu 16.04 LTS system.
Step #6 – Create a Database
- Type: mysql -u root -p
Enter root as password (you won’t see any characters rendered on the screen). Since this is a local development environment, this is no problem at all.

To create the database and assign permissions to a user on it,
- type these 3 commands in order:
create database my_drupal_8;
grant all privileges on my_drupal_8.* to admin identified by ‘1234’;
flush privileges
You can assign your own user names and passwords for your databases. I like those for my local machine.

Type exit to leave mysql.

Step #7 – Install Drupal
- Type cd /var/www/public
This is the public folder of your local server, just like the public_html folder at your hosting provider.
Type the following commands one after the other:
wget https://www.drupal.org/download-latest/tar.gz
This will download the latest Drupal version in a file called tar.gz
tar xzvf tar.gz
This command decompresses the downloaded file
rm index.php
Deletes the default index.php file (the configuration defaults screen you saw on your browser on Step #4)
cp -r drupal-8.7.7/* .
To copy all the files and folders inside the decompressed drupal-8.7.7 folder one level up to the public folder.
rm -rf drupal-8.7.7/
To delete this folder
rm tar.gz
To delete the compressed file
composer install
Adds Composer to your Drupal installation

cd sites/default
To access the default folder
cp default.settings.php settings.php
Copies the default settings and creates a new settings file
Now go to your browser and type again in the address bar: 192.168.33.10
You will see the Drupal installation screen.
- Choose your language and click Save and continue
- Select an Installation profile and click Save and continue
- Verify the requirements and click Continue
- Enter the required fields to connect the database to Drupal (you created these in step #6)
- Click Save and continue

The Drupal installation will begin.
- Provide the required information for your site
- Click Save and continue

You will see the home page of your site.
Congratulations, you have just installed Drupal on top of a Vagrant box called Scotch box.
The virtualization occurs through Virtualbox. All this happens in the background through an API which communicates Vagrant with Virtualbox. The virtual boxes are stored in the home directory of your system (OSX, Linux) inside a folder called VirtualBox VMs.
To shut down the virtual machine, type:
exit to leave the ssh mode
vagrant halt
More about Vagrant here.
Please, leave us your comments below. Thanks for reading!

Great introduction.. I will definitely try Vagrant with Scotch Box.
Is it possible to do another piece on Lando?
and maybe another piece on comparison on the different alternatives
Thanks for your time and efforts
Salman
Thank you, Salman! We will definitely add your blog requests to our queue. Thanks for reading and participating on our blog! Cheers!
Excellent article – just so you know Scotchbox is no longer supported and was last using Ubuntu 17 which is also EOL. May I suggest CognacBox which is an alternative which was based on the exact same principles of ScotchBox but is running Ubuntu 18 LTS — which is supported through 2028. And was just recently updated June 2020 — providing complete support. Using Scotch in 2020 will result in a failure to boot the Vagrant Box — consider perhaps swapping out the Scotch for Cognac implementation — and all other steps remain the same. Enjoy!