How to Install Drupal Using Bitnami for Windows

Bitnami is a software that allows you to install website applications such as Joomla, WordPress and of course Drupal.
In this tutorial, we will show you how to install Bitnami on Windows to create a Drupal 7 site.
Download and install Bitnami
- As the first step, we need to download the Bitnami file from this page.
- Once the download finished, execute the file by double-clicking.
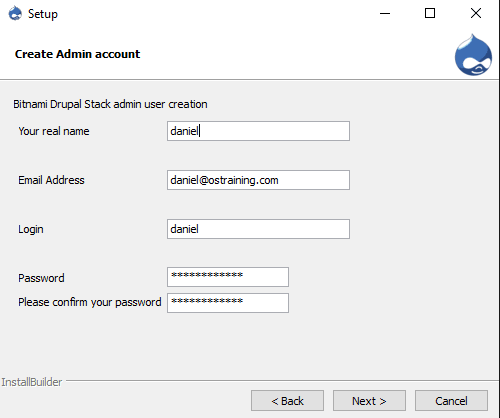
Note: be sure to type everything in lowercase during the installation.
You can skip the mail options or useGmailail address, and you will be able to get email alerts for your sites.
Your Drupal site is ready!
Once installation is complete, you can go to http://127.0.0.1/drupal to reach a working Drupal 7 site; http://127.0.0.1 is equivalent to your localhost address.
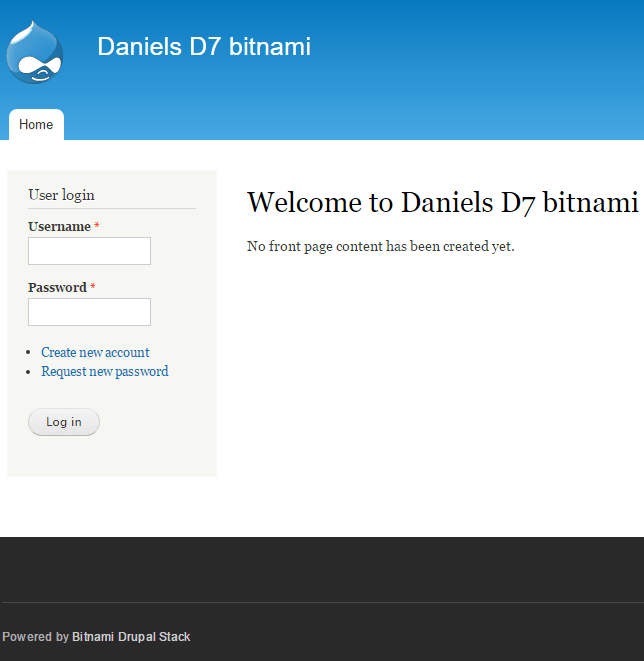
Now we have the site all setup we can login to the Drupal site with the details we stated during installation.
For phpmyadmin, the defaults are root and the same password as you set for your Drupal installation.
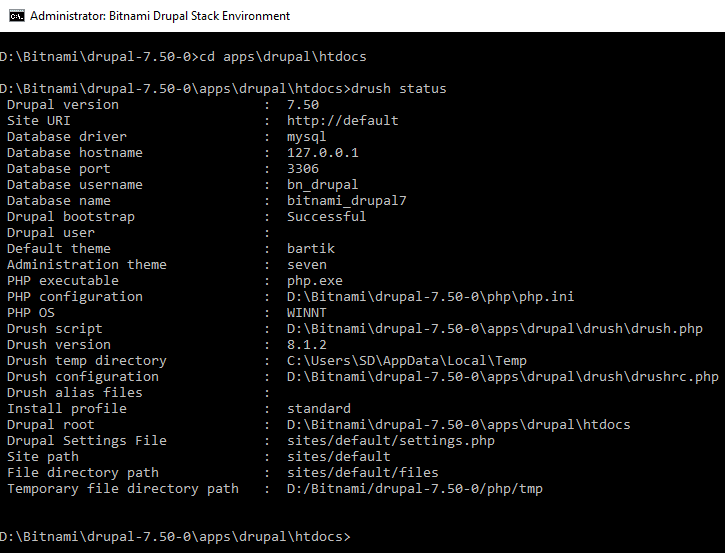
About Drush
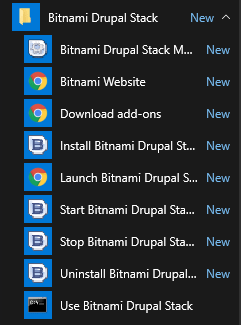
Drush comes pre installed from the windows menu, you will find an option to launch straight into your drush setup.
To import an existing site you can simply go to this sub folder in the installation apps\drupal\htdocs and replace the folder content with your site.
Open up http://127.0.0.1/phpmyadmin/ and import your database into phpmyadmin.
Check the settings.php details are correct and that you have made any users that you require for the database.
Open up drush cd into apps\drupal\htdocs and use the drush status to confirm the installation.