How to Use the Shortcodes Ultimate Plugin for WordPress

The Shortcodes Ultimate Plugin for WordPress provides a set of useful shortcodes to embed into your WordPress content, or into other regions where the use of shortcodes is allowed.
The plugin has been installed over 800,000 times, works with any theme, and is ready for use with the Gutenberg editor.
Let’s take a look at this plugin!
Step #1.- Install the Plugin
- Click Plugins.
- Type Shortcodes Ultimate into the search box.
- Use your favorite method to install the plugin (I am working locally, so I’ll download and uncompress)

- Activate the plugin.
Step #2.- Create Content
- Click Posts > Add New.
- Write a proper title.
- Insert a shortcode block into the editor.
- Click on the element and then click the empty brackets contextual menu.

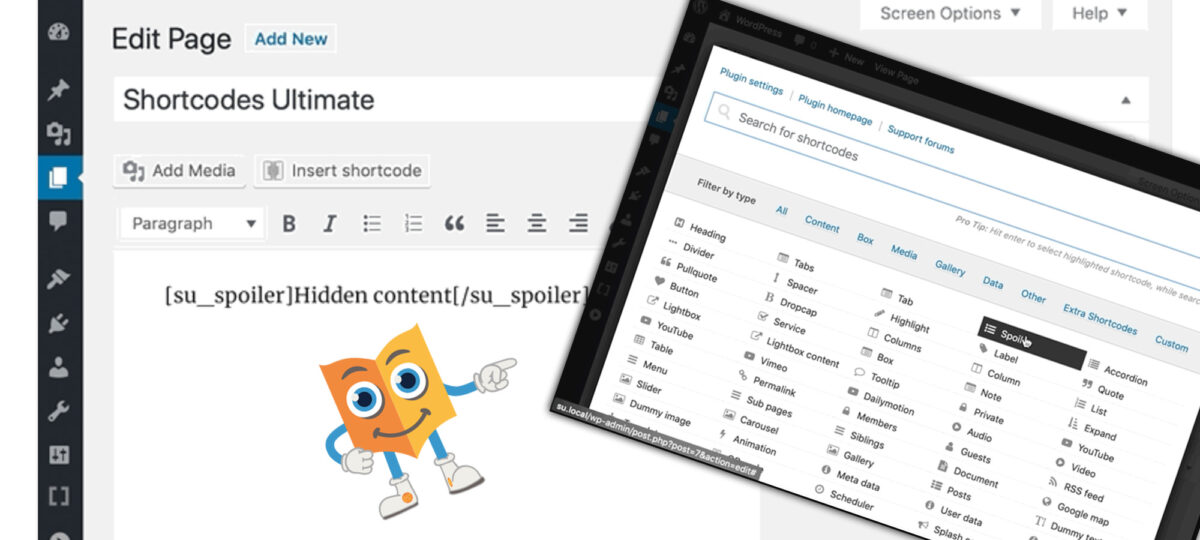
This displays a list with all the available shortcodes. You can filter the shortcodes according to certain categories illustrated on top.

- Click Content.
- Insert a Heading element.
- Configure the settings according to your preferences.
- Change the content of the heading inside the textbox.
- Click Insert shortcode.
- Insert two more shortcodes of the CONTENT category, for example, Dummy text and dummy image
- Insert another shortcode and select the Box filter.
- Select Columns.
- Enter the content for each column.
Notice that it is possible to insert a shortcode inside another shortcode as shown in the image below.

- Add another shortcode.
- Select the Media filter.
- Click Youtube advanced.
- Copy and paste a Youtube video link.
- Change the Autohide behavior to Hide all controls on mouse out.

- Change the theme setting to Light theme.
- Click Insert shortcode.
- Repeat the process, this time with the Gallery filter.
- Select Image carousel.
- Set the Image source to the Media library.
- Click Add images.
- Select the images from the Media library or upload them.
- Click Add selected images.
- Change the Slides style to Photo.
- Change the Crop images option to [Landscape] 21:9.
- Change the Alignment option to Full.
- Scroll down and click Insert shortcode.
- Click Publish twice to save the post.
- Click View post.

As you can see, we still have to apply styles to some of the elements on the page. Luckily, it is possible to add custom CSS classes to each one of the shortcodes.
Step #3.- Apply CSS Styles
- Edit the post.
- Add a class to the Image shortcode.

- Click Update.
- Navigate to the Dashboard of your WordPress installation.
- Click Shortcodes > Settings on the side menu.
You see a CSS editor. This code will take precedence over the shortcodes above all other CSS code.
- Write proper CSS styles.
- Click Save changes.

Take a look at the published post. You will see the changes have taken effect.

Summary
The Ultimate Shortcodes plugin for WordPress provides a really easy way to produce content and insert it through shortcodes. The plugin works with all WordPress themes and is Gutenberg-ready. Give it a try and leave us your comments below.
I hope you liked this tutorial. Thanks for reading!

great plugin, do you have knowledge to use this type of plugin in my Squarespace website?
Sara, Squarespace doesn’t exactly have shortcodes, but they have keyboard shortcuts – here’s a list of all of them: https://support.squarespace.com/hc/en-us/articles/214491097-Squarespace-keyboard-shortcuts-and-tips
Hope this helps!
And, if you were more thinking code blocks, here’s information about those – https://support.squarespace.com/hc/en-us/articles/206543167-Code-blocks
I will check. Thank You.