How to Use the Layout Grid Block Plugin in WordPress

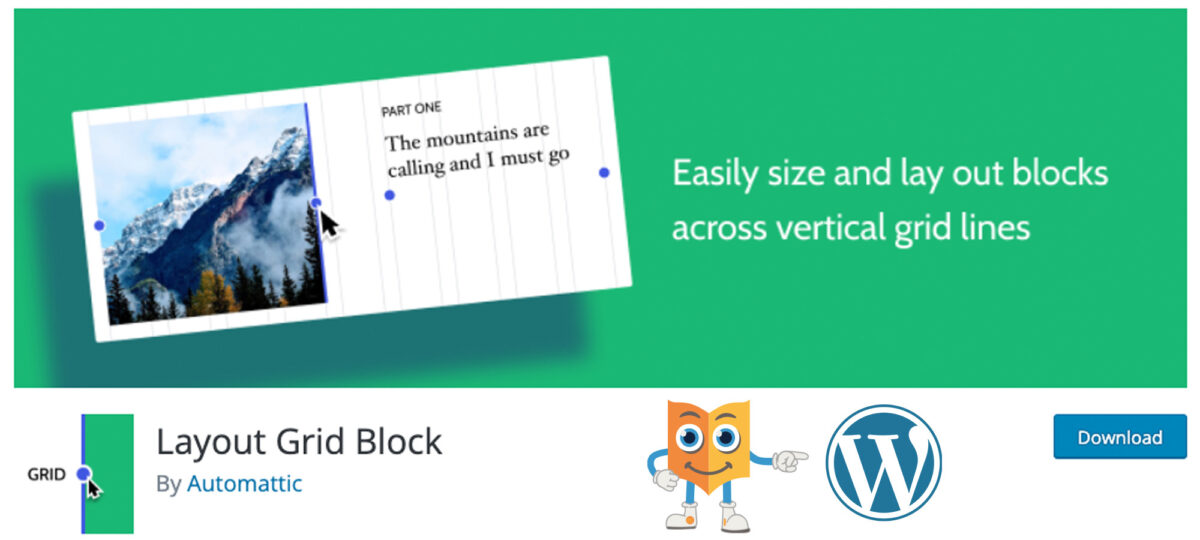
The Layout Grid Block plugin can help you to insert content blocks in a grid format. This way, it is possible to create consistent layouts across the whole site, for example, one sidebar and one content area from top to bottom. Moreover, you can create individual grid blocks and determine the layout of each one of its contained elements through drag handles.
Keep reading to learn how to use this plugin!
Step #1.- Install the Plugin
- Click Plugins.
- Type Layout Grid into the search box.
- Use your favorite method to install the plugin (I am working locally, so I’ll download and uncompress)

- Click Plugins.
- Activate the module.
Step #2.- Create Content
- Click Posts > Add new.
- Write a proper title.
- Insert a Layout Grid block.

- Choose the two-column layout.
- Click on the “+” symbol on the left.
- Add an image.
- Click on the “+” symbol on the right.
- Add dummy text.
Notice that you can add more blocks in each column if you want to.
- Add another Grid Block.
This time position the image on the right and the text on the left column.
- Select the first block and take a look at the settings on the right sidebar.

- Scroll down to the Breakpoints section.
- Change the span value for the second column to 4.
- Change the span value for the first column to 8.
This is the desktop view.
- Click on the Tablet link.

- Change the span value of the second column to 3 and the value for the first column to 5.

- Select the second Grid Block.
- Apply the same settings, but this time, commute the values for the right and left columns.

- Click Publish twice.
- Click View post.

Summary
The Layout Grid Block plugin for WordPress allows content editors and creators to create any type of layout within WordPress on a per post basis. Please, test this plugin and tell us your comments about your experience.
I hope you liked this tutorial. Thanks for reading!
